How to Draw Orange Step by Step With Pictures
Click any orange drawing step image to view it bigger. The image viewer works on desktop and mobile, with next, previous, and back controls. Each picture includes keyword-rich alt text for easy step by step orange drawing, how to draw orange step by step, and simple orange drawing step by step.
Start the orange drawing by sketching the small star shape at the top. This is the calyx, the little green crown where the orange stem area begins.
Draw a big circle around the calyx to create the main orange fruit. Keep the line light and round so the fruit looks full and natural.
Add the curved peeled slice shape overlapping the front of the orange. This makes the drawing more interesting than a plain round fruit.
Divide the front slice into small wedge sections. These segment lines show the juicy inside of the orange and make the fruit easy to recognize.
Fill the star-shaped calyx with green. This small color detail creates contrast before coloring the orange fruit body.
Shade the round orange and the front slice with a light yellow-orange base. Leave the color soft so darker layers can be added later.
Add stronger orange color on the peel and slice. Follow the round direction of the fruit so the coloring starts to look dimensional.
Use deeper orange and red-orange shading around the edges. Keep a lighter area near the top so the orange looks shiny and rounded.
Add small dots across the orange peel and darken the bottom shadow. These details make the orange fruit drawing look more realistic.
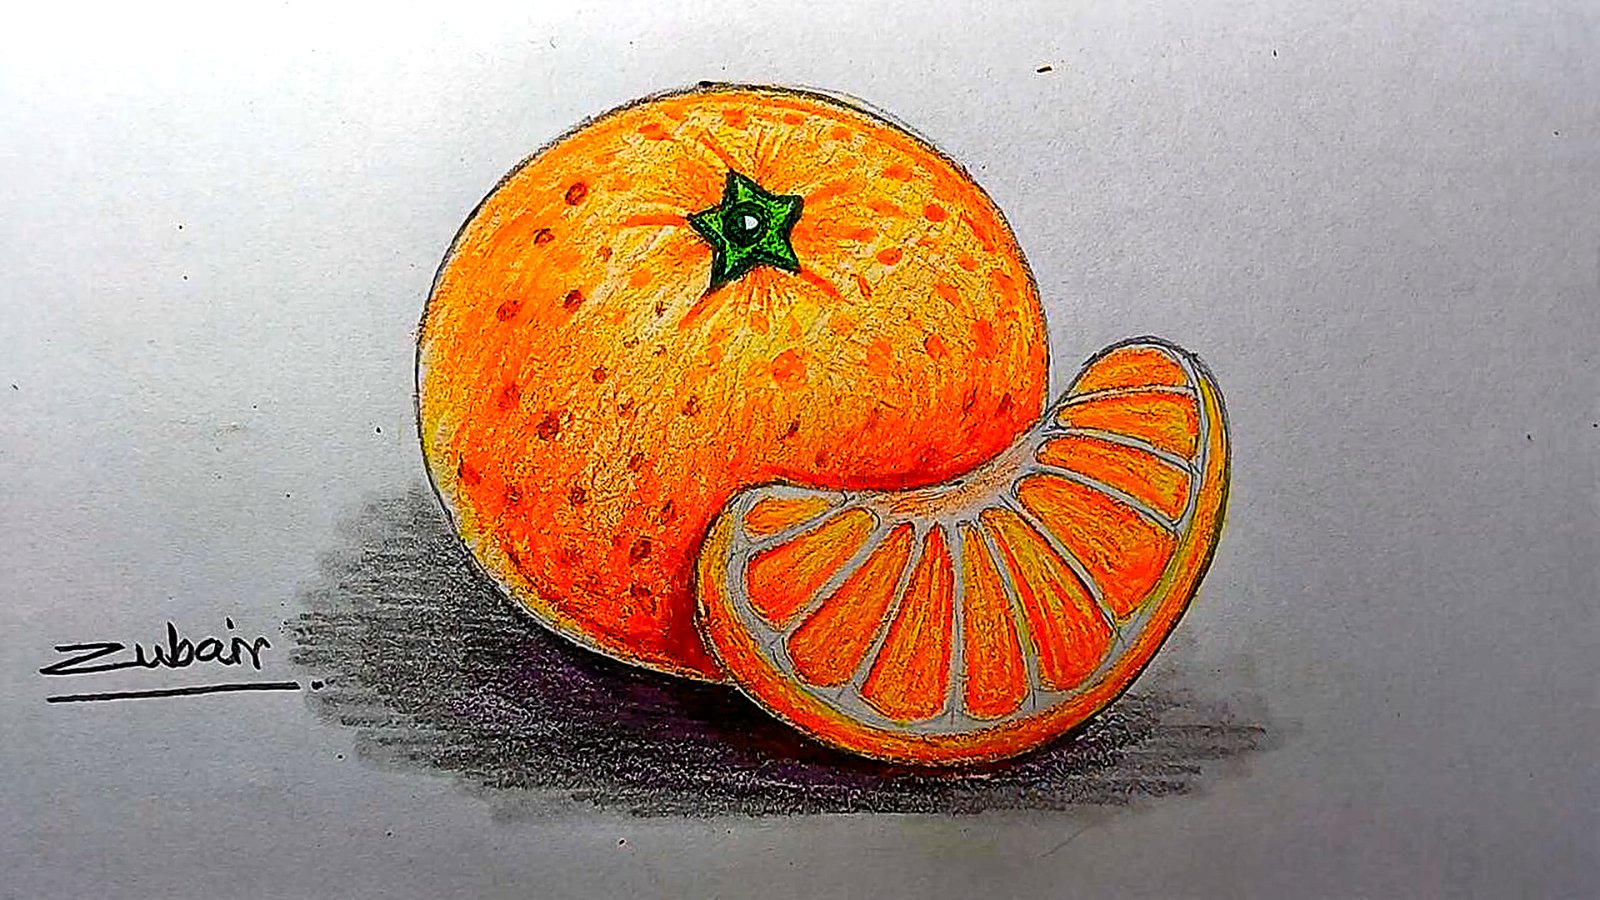
Finish the artwork with clean outlines, final shadows, rich orange color, and the completed peeled slice. Now the orange drawing is ready to submit.
Simple Orange Drawing Step by Step Tips for Kids
When children draw an orange, the most important skill is not perfect roundness. The real goal is learning how to build a shape slowly. A fruit drawing starts with observation: round body, small top dip, short stem, leaf shape, and clean coloring. This simple orange drawing step by step method helps children learn patience without pressure.
For beginners, use a light pencil first. If the orange shape becomes too flat or too tall, gently erase and correct it. In live online drawing classes, Chitran teachers often remind students that drawing improves through small corrections. The picture does not need to be perfect on the first line.
Coloring the Orange Fruit Drawing
After the outline is complete, fill the fruit with orange color. Children can use color pencils, crayons, markers, or watercolor depending on their level. A lighter orange in the middle and a slightly darker edge can make the orange fruit drawing look more rounded. The leaf can be green, with a darker center line if the child wants extra detail.
This is also a good moment to teach vocabulary: outline, curve, stem, leaf, fruit shape, color fill, highlight, shadow, and final artwork. These small art words help children explain what they are doing during a live Zoom drawing class.
Artwork Completed? Submit Your Artwork Today
Finished your orange drawing? Submit your artwork through the Chitran student portal, share it with your teacher, and keep building your art progress. Students can also join live online drawing classes to learn fruit drawing, object drawing, cartoon drawing, watercolor, acrylic, sketching, and more.